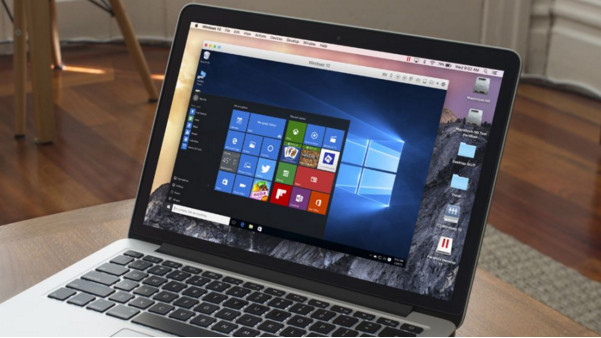
How to use Windows 10 on a Mac

Using Parallels Desktop
The most convenient way to use Windows 10 on a Mac is probably by acquiring the Parallels Desktop software for Mac. It's a paid application (though there is a free trial), but when it comes to features and ease of use, it's arguably the best option available.

Before you do that, however, you'll need to get a copy of Windows 10. You can get an ISO file directly from Microsoft by clicking here. Most users will probably want to opt for the standard version of Windows 10 in English, 32-bit download, but your situation may vary. Download it to your Mac desktop.
Next, get a copy of Parallels Desktop for Mac from here. Click Buy Now or Try Now, then download the DMG file, unzip it, and go through the installation process, which will likely require your administrative password. If you bought Parallels Desktop you can enter the key here to get full access to the software; if not, you can click the button for the aforementioned free 14-day trial.

Once Parallels is installed, open up the program and begin the process of installing Windows 10. You'll be presented with three choices: get windows 10 from Microsoft, install Windows or another OS from a DVD or image file, or migrate Windows from a PC. In this case, you'll want to choose the second option. Double-click Windows 10 and the ISO file you grabbed earlier should be located automatically. (If it isn't, select it from the desktop.)
As you click through the setup pages, you'll want to uncheck "this version requires a product key" when the option appears, and you'll also need to choose how you'll be using the virtual machine, which alters the way features are configured and memory is allocated. Don't worry about this too much - you can always change this later. (You can do so by selecting Action > Configure after shutting down Windows 10 under the Power section of the Windows menu in the lower right corner.) You'll also need to select a name and location for your Windows 10 setup.

After making these selections, Parallels will load up a Windows environment. Select the Home version, then begin the installation. It'll take a few minutes to install, but you're almost done - Windows 10 will shortly be installed on your Mac. Once installation is complete, Parallels should automatically open Coherence mode, which lets you use Windows 10 features while still running OS X. To switch to full Windows mode, go to the Parallels drop-down in the Finder menu bar of OS X and choose View > Exit Coherence.
Now that you're running Windows 10 through Parallels you'll be able to take advantage of a plethora of new options. In addition to being able to run Windows applications, you'll also be able to utilize features across both operating systems, such as full use of Cortana, Quick Look for Windows documents (by pressing the space bar, just like when in OS X), simplified file sharing and printing, and Mac location services support for Windows apps, among other features.

Using VirtualBox
Alternatively, if you don't need all those bells and whistles, you could opt for a free method of running Windows 10 on Mac called VirtualBox. (You'll also need to download Windows 10 from Microsoft as described in the previous section.)

You can download Virtualbox by going here and clicking on the link for VirtualBox 5.0.10 for OS X hosts. Download the DMG file, open it, then double-click the package file to install it. When it's done installing, open the app from your Applications folder. Next, select a name, memory size, and virtual hard drive size to create your virtual Windows environment. With that set up, click the green Start arrow to install Windows 10. Choose to perform a custom install and that's that - you'll now have a fully functioning version of Windows 10 on your Mac.


 Evelyn


